


Water Decals for Nails
in category: Water Decals
Chosen
Price
Vendor
New
On sale
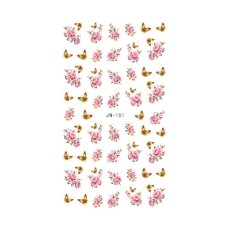
Water decals for nails are the quickest way to a nail design that looks hand-painted. Cut the design from the sheet, dip it in water for a few seconds, move it onto the nail and seal everything with a top coat. Julia Nessa offers 24 sheets: flowers, butterflies, leaves, boho, lettering and black-and-white designs for gel polish manicures.
List of products


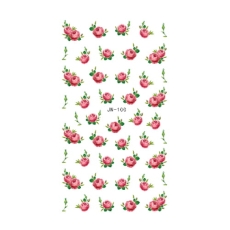
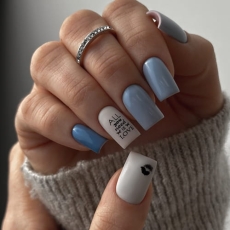
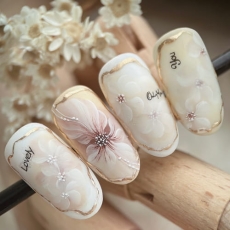


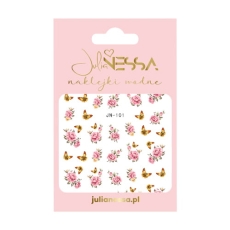


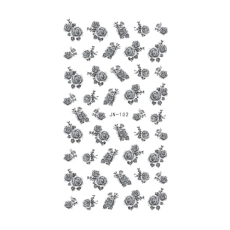
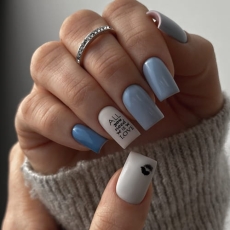
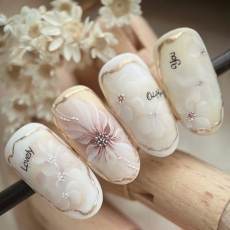


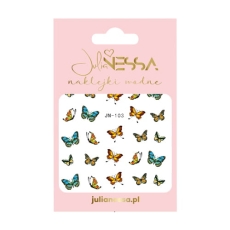
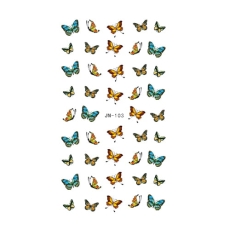
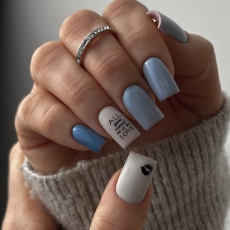
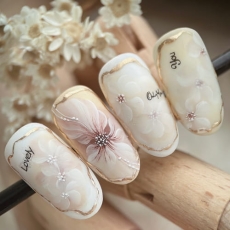


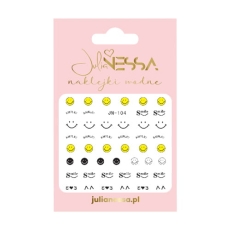
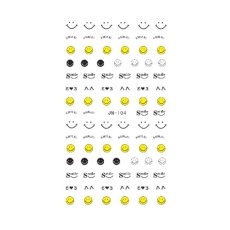
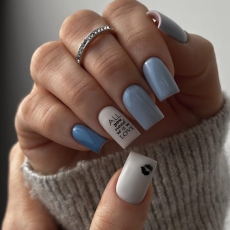
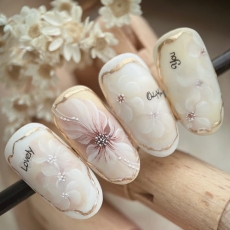


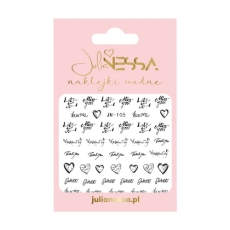


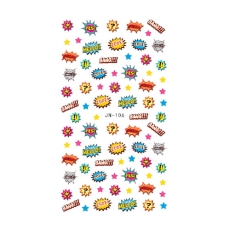
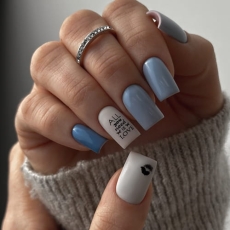
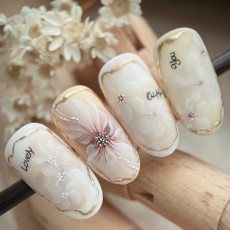


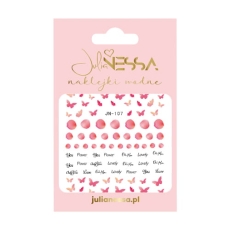
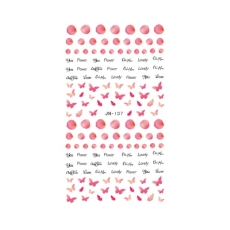
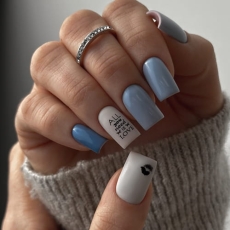
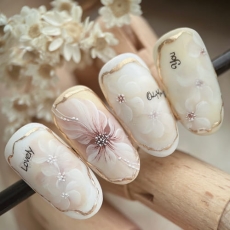


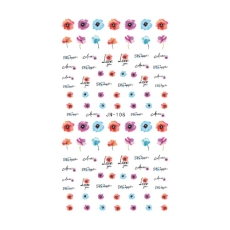
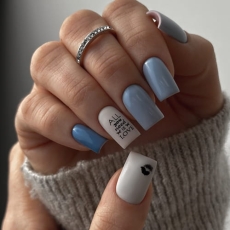
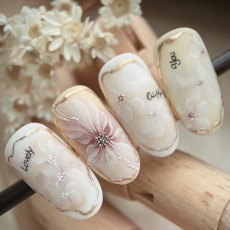


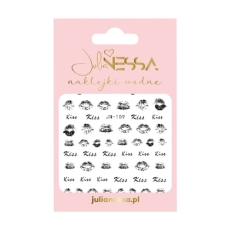

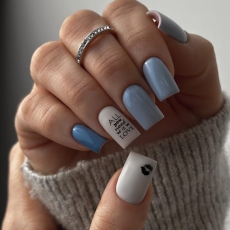
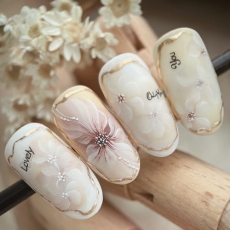


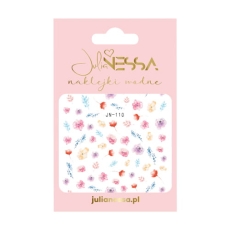
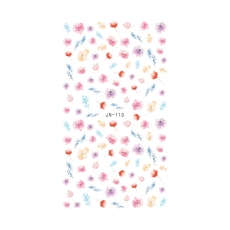
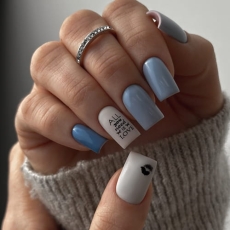
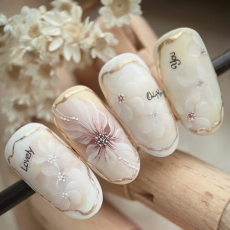


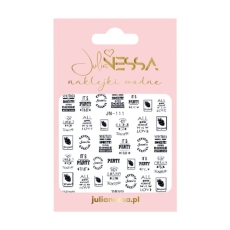
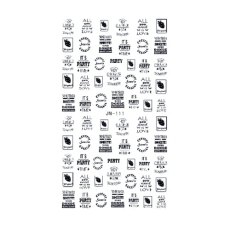
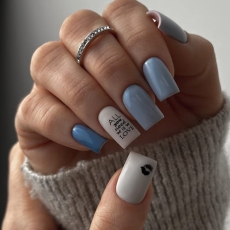
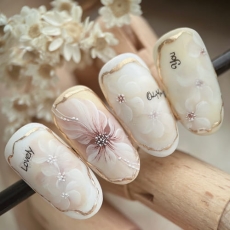


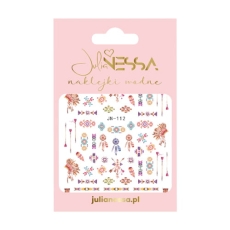
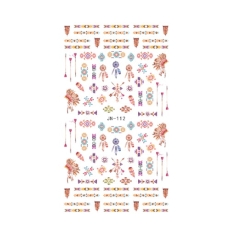
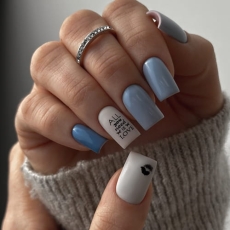
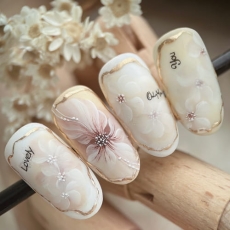


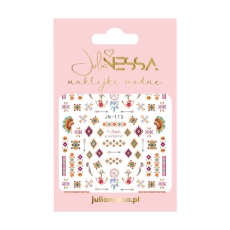
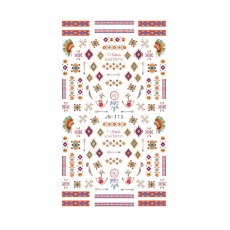
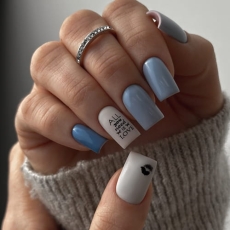


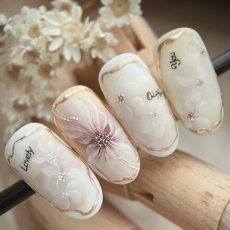


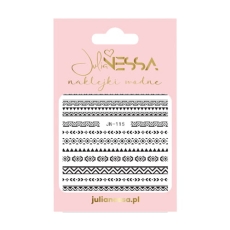
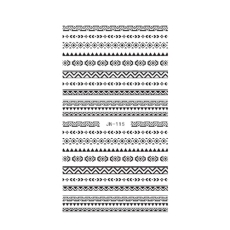
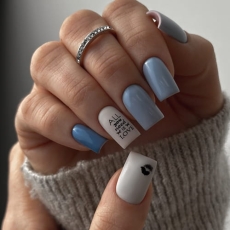
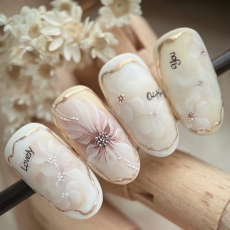


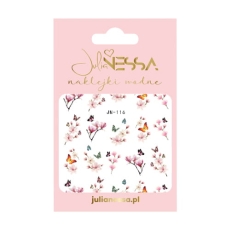
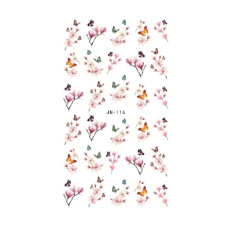
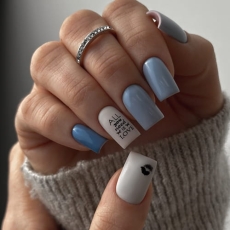
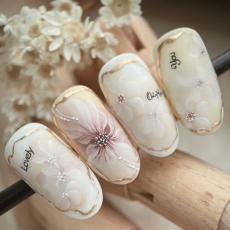


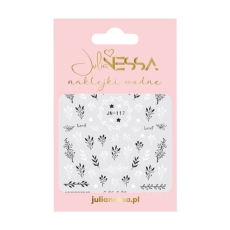
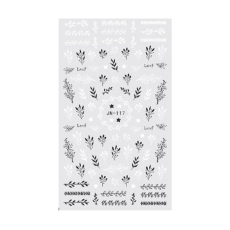
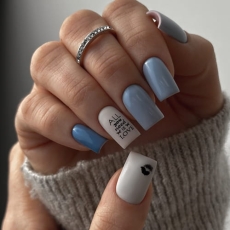
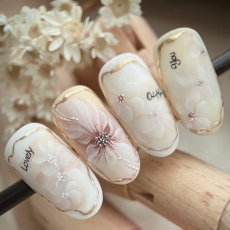


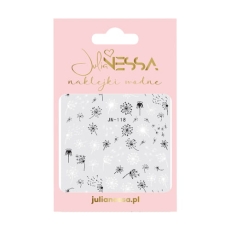
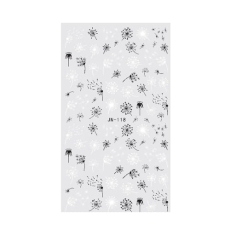
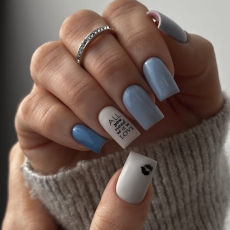
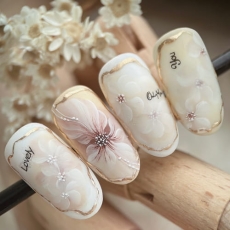


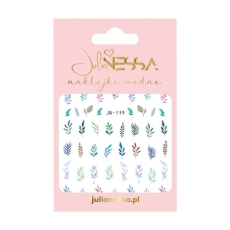
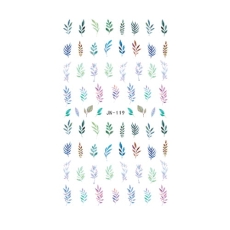
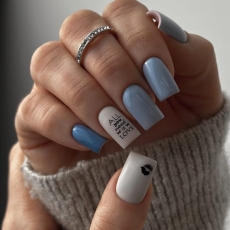
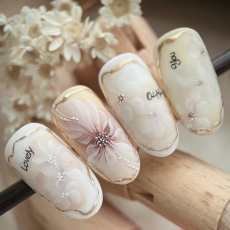


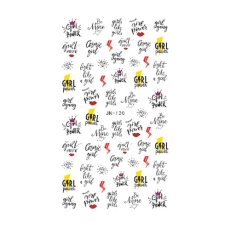
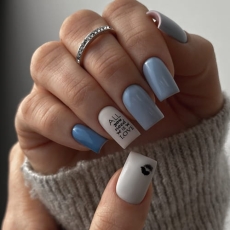
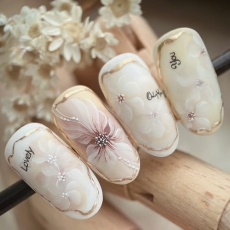


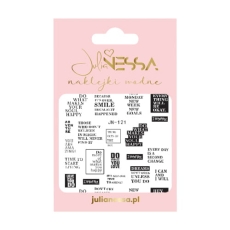
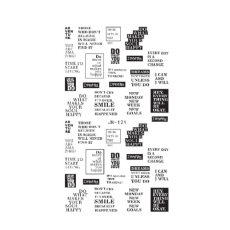
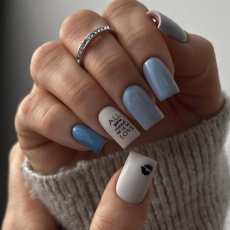
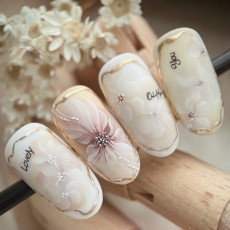




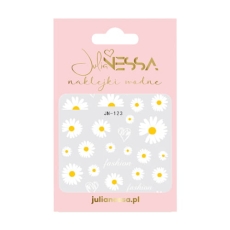
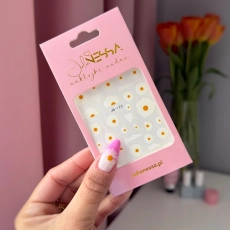
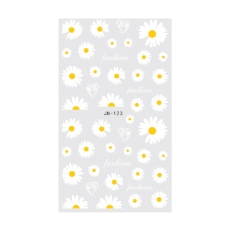
Water decals for nails – what they are and how they work
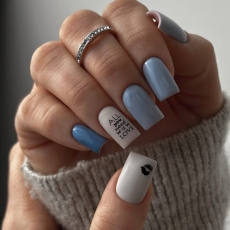
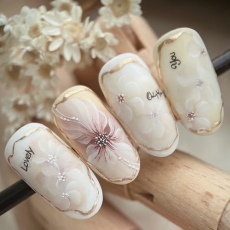
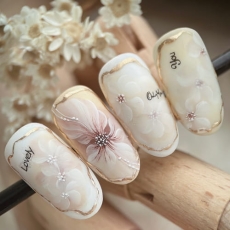
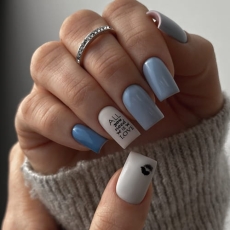
A water decal is a thin design printed on a sheet that only comes away from its backing once it touches water. That makes it much thinner than a classic self-adhesive sticker: once sealed with a top coat it does not stand proud, leaves no edge you can feel and blends into the colour. The effect looks like hand painting, yet the design takes only a moment. That is why water decals work so well in the salon: the nail set looks impressive, and the appointment does not get any longer.
One sheet holds many elements in different sizes. You can decorate all the nails, or cut out a single design and place it on one or two fingers as an accent.
How to apply water decals step by step
- Paint the nail and cure the gel polish or base coat. Wipe the sticky (inhibition) layer with nail cleanser.
- Cut the chosen design from the sheet and remove the protective film from it.
- Place the cut-out design in a bowl of warm water for 10–20 seconds.
- Slide the decal off its backing and gently move it onto the nail.
- Remove excess water with a paper towel and wait until the design is dry.
- Once dry, seal the design with a gel polish top coat and cure it in the lamp.
Small scissors are all you need for cutting, and tweezers come in handy for moving tiny elements. You can see the whole process in the tutorial video on the product pages.
Water decals for gel polish nails
Our decals for gel polish nails were made with the work of a nail stylist in mind. You apply each decal onto a cured layer of gel polish or onto the base coat alone, then close it under a top coat. Remember two steps: wipe the sticky layer with nail cleanser before applying the decal, and dry the design with a paper towel before applying the top coat.
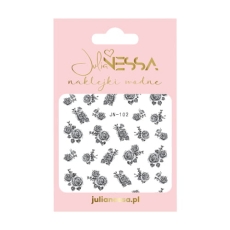
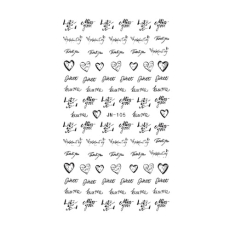
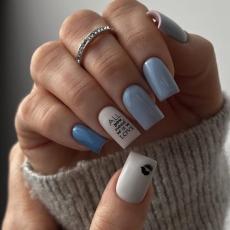
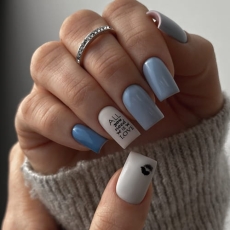
The black-and-white designs suit minimalist nail sets and go well with a solid background in nude and milky white shades. You will find the products you need in the gel polish top coats, gel polish base coats and nail cleansers categories.
Water decal designs – choosing a motif
The range covers 24 sheets, each with a different theme:
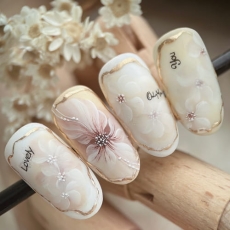
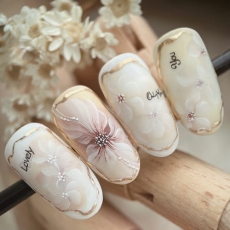
- Flowers – red roses, poppies, magnolias, daisies, wildflowers and black-and-white roses.
- Butterflies – butterflies on their own, plus flowers and butterflies and roses and butterflies sets.
- Leaves and dandelions – coloured leaves, black-and-white leaves and dandelions.
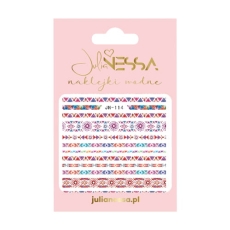
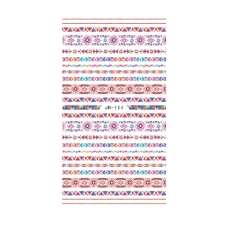
- Boho – four sheets, including one black-and-white.
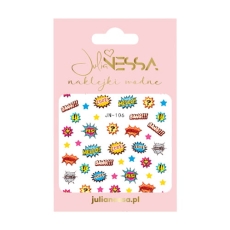
- Lettering and graphics – quotes, girl power, pop art, retro emoji, party time, lips and Valentine's Day.
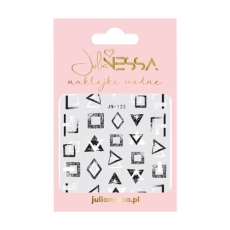
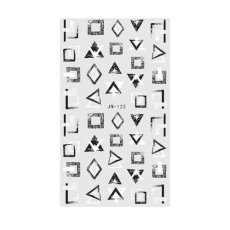
- Geometric designs – triangles and squares.
Floral motifs suit spring and summer, leaves suit autumn, and black-and-white graphics work all year round, including as an add-on to a French manicure.
Water decals vs self-adhesive stickers
Nail stickers come in two types, and the difference lies in how they are applied and how thick they are. Every self-adhesive sticker has a layer of glue: you peel it off the sheet and press it straight onto the nail. Water decals cannot be stuck on dry, they have to be soaked first, but in return they are thin and give a flatter, painted-on effect. If you prefer a design without water, take a look at self-adhesive nail stickers.
Water decals for nails – frequently asked questions
How do I apply water decals to nails?
Cut out the design, remove the film, dip it in warm water for 10–20 seconds, move it onto a cured, wiped colour layer, dry it and cover it with a top coat.
Do water decals need to be cured in the lamp?
The decal itself does not need curing. You cure the top coat that seals it.
What do I put a water decal on?
Onto cured gel polish or a base coat, after wiping the sticky layer with nail cleanser.
Is one sheet enough for a whole nail set?
A sheet holds plenty of designs, so you can decorate all the nails with them or use single elements as an accent.
Are water decals suitable for salon work?
Yes, it is a quick salon nail design. It does not require painting skills, and the result is repeatable on every client.