


Cuticle Pushers
in category: Cuticle Pushers
Chosen
Price
Vendor
New
On sale
A cuticle pusher is one of the basic tools in nail care. It is used to gently push the cuticles back from the nail plate before further prep and product application. In this category you will find Julia Nessa metal cuticle pushers, marked with JN numbers. All are made of stainless steel, can be sterilised and can be used on both hands and feet. The number makes it easy to compare models and to reorder your favourite.
List of products
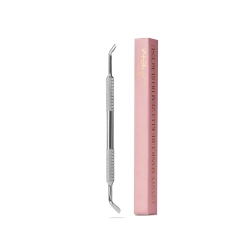
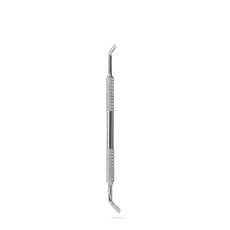
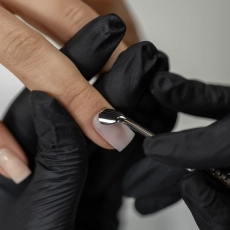
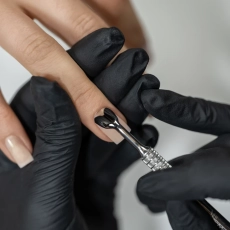
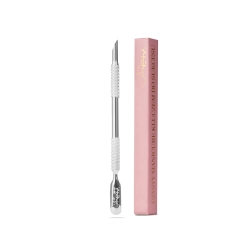
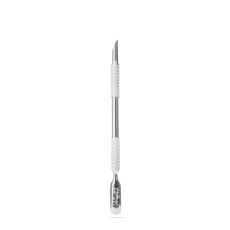
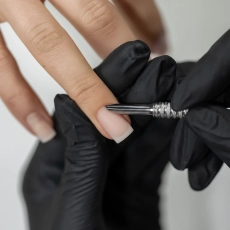
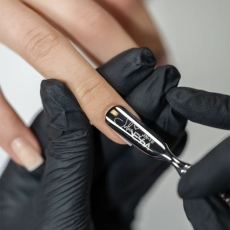


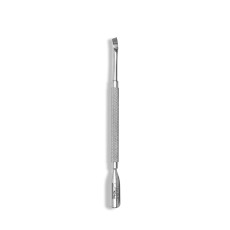
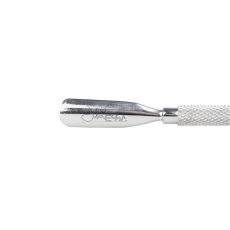
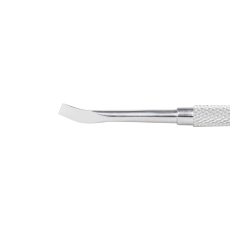


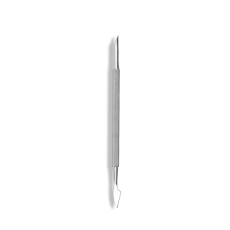
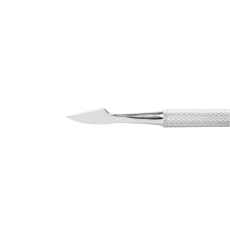
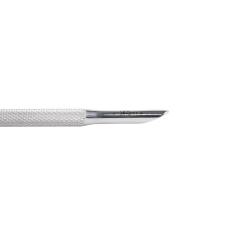


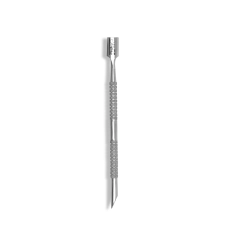
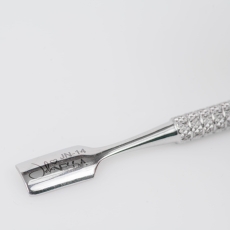
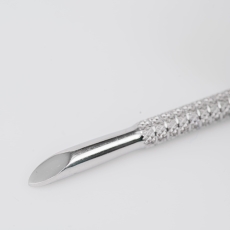


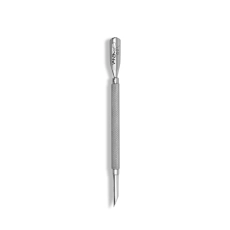
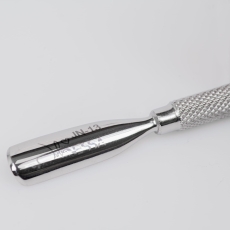
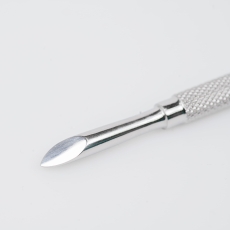

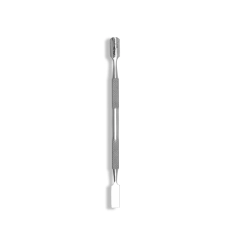
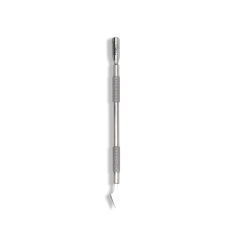


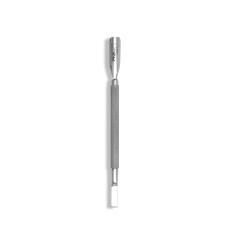
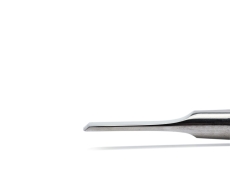
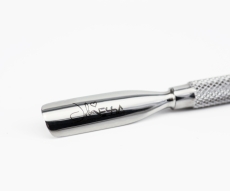
Nail and cuticle pushers – a professional manicure tool
Careful cuticle prep is the first step to a neat manicure. A pusher exposes the nail plate, so it is easier to judge the shape of the nails and later to apply the base coat or gel polish evenly along the cuticle line. It is a professional manicure tool found in salons as well as at home, for anyone who looks after their own hands. It is one of the essentials, and it is hard to imagine a nail desk without it.
This category brings together models from one series. Choose the one that sits best in your hand and suits the technique you use every day.
A pusher for pushing back cuticles
The names “cuticle pusher” and “pusher” mean the same tool. The English term describes its job well – pushing back the cuticles. With the tip you move the soft cuticle skin towards the nail fold and at the same time loosen the dead layer that sticks to the nail plate, which is then easier to remove.
Among the Julia Nessa models, the JN-13 pusher has a detailed description; on one side it resembles a wooden orange stick. It was designed for manicure and pedicure, and thanks to high-quality stainless steel it can go through sterilisation in a cosmetic autoclave. It is a good choice if you have always worked with an orange stick and want to keep a familiar shape in a reusable version.
A metal cuticle pusher made of stainless steel that does not rust
Stainless steel resists corrosion, so these pushers cope well with water, disinfectants and sterilisation. Unlike disposable sticks, a metal pusher can last a long time, and after each client you can prepare it for reuse. The smooth steel surface is easy to wash before the next stages of hygiene. Choosing corrosion-resistant materials is essential for reusable tools that regularly go through hygiene procedures.
How to choose a nail pusher for yourself
All the models in the category have the same purpose, so choose mainly for comfort and the way you organise your work:
- Shape of the tip – check on the product page how a given model is built, for example the JN-10 pusher, and whether it suits your technique.
- Comfort – the tool should give a secure grip and be comfortable to use throughout the treatment. A pusher that sits well in the hand is easy to use even for beginners and makes work more comfortable.
- Type of treatment – you can use each model on hands and feet, so one pusher covers both kinds of work.
- Number of pieces – if you see many clients, it is handy to have several, for example an extra JN-16 model, so you can reach for the next one while the previous one is being sterilised.
The range also includes the JN-11, JN-12 and JN-14 models. You can check the details of each one on its product page.
How to push back cuticles precisely before a nail set
Technique matters more than force. Work gently with the pusher, because too much pressure can damage the nail plate or irritate the nail fold. Cuticle prep step by step looks like this:
- Prepare the tool – the pusher should be clean, disinfected and sterilised according to the procedure used in your salon.
- Soften the cuticles – softened cuticles move more easily, so you do not need much force.
- Set the right angle – guide the tip flat against the nail plate, without digging it under the nail fold.
- Work from the centre to the sides – with calm movements push the cuticles towards the nail fold, first in the centre and then along the side edges.
- Do not press down – the pusher is meant to move the cuticle skin, not to scratch the surface. Too much pressure at the base may harm the area of the nail matrix.
- Check the result – when you finish, the nail plate should be clearly exposed, which lets you remove any remaining cuticle skin precisely.
Pushing the cuticles back carefully makes the following work easier, because the product is easier to apply evenly along their line. It is not worth rushing cuticle work – precision at this stage pays off in the next steps.
The most common mistakes when using a pusher
Even simple steps are easy to do imprecisely, especially at the beginning. Watch out for the situations that most often make work harder:
- Working on dry cuticles – hard skin resists, which tempts you to press harder.
- An angle that is too steep – a tip held upright can scratch the nail plate or dig into the nail fold.
- Rushing – quick, jerky movements make control harder and increase the risk of irritation.
- Skipping the side walls – it is worth pushing back the cuticles along the edges too, because that is where product easily floods onto the skin.
- An unprepared pusher – every reusable tool must go through the hygiene procedure before a treatment.
A pusher for manicure and pedicure – the quality of the treatment starts with the cuticles
You can use every Julia Nessa pusher on both hands and feet. In a pedicure the cuticles can be thicker and drier, so it is especially important to soften them first and work calmly. It is worth keeping separate tools for feet and hands – it makes organising your nail desk and preparing the tools for sterilisation easier.
The quality of the whole nail set depends on this stage. Cuticles that are pushed back thoroughly let you apply the base coat and gel polish right up to the nail fold without flooding the skin, which improves both the look and the wear of the manicure.
After pushing back – how to remove the excess and which tools to choose
A pusher prepares the cuticles, but it is not for cutting them. Excess skin that stands away from the nail plate after pushing back is removed with a cutting tool, for example cuticle nippers or scissors. Nippers let you work with short, controlled movements, while scissors lead a longer cutting line. Some people also choose a combination method, pairing work with a pusher with an e-file.
It is worth finishing cuticle work with moisture – cuticle oil applied after the treatment keeps the skin soft.
How to disinfect and sterilise pushers
A pusher is a reusable tool that comes into direct contact with the skin, so after each use it needs preparing for the next client:
- Remove skin residue and product – ideally straight after the treatment, before it dries.
- Wash the pusher and disinfect it following the instructions of the product you use.
- Sterilise the pusher according to your salon procedure – for the JN-13 the description points to a cosmetic autoclave.
- Keep sterile pushers in closed pouches until use and do not put them on the desk together with used accessories.
Regular hygiene protects your clients and you, and also helps the tools stay functional for longer. Stainless steel does not rust when the procedure is followed correctly, so the pushers keep their neat look for a long time.
Frequently asked questions about cuticle pushers
What is the difference between a cuticle pusher and a pusher?
None – these are two names for the same tool. The names of the Julia Nessa models include both terms, for example the JN-18 cuticle pusher.
How many pushers should I have at my nail desk?
If you work with many clients, it is handy to have several, for example the JN-19 model and the JN-17 model. You can then reach for the next one while the previous ones are being sterilised, without longer breaks between treatments.
Can a pusher be used to cut cuticles?
No. A pusher moves the cuticle skin and exposes the nail plate. Excess skin is removed with cutting tools, and the pusher simply prepares the cuticles for that step.
Is a steel pusher better than a wooden orange stick?
It is a matter of habit, but a steel pusher can be disinfected and sterilised many times, while a wooden orange stick is meant for single use. If you like the shape of an orange stick, take a look at the JN-13, which resembles one on one side.
Do the cuticles need pushing back before every manicure?
Yes, it is a regular part of nail plate prep – both before a classic polish and before applying a base coat for gel polish or builder gel. That way the product sticks to the cleaned nail plate and not to the skin, and the colour line at the nail fold looks even.
Are pushers suitable for beginners?
Yes. A pusher is simple to use – it mainly takes a gentle touch and an unhurried pace. Start with softened cuticles and light pressure, and in time your movements will become confident and smooth.