


Stamping Polish
in category: Stamping Polish
Chosen
Price
Vendor
New
On sale
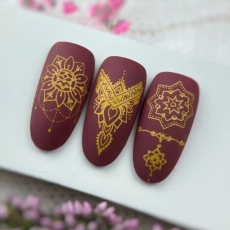
Stamping polish transfers a design from the plate to the nail in a single motion and dries on its own, without a UV lamp. In this category you will find four 8 ml stamping polishes – black, white, silver and gold – and twenty stamping plates, each with a dozen or so designs. To complete the set you also need a stamper with a scraper and a top coat to protect the finished nail art.
List of products


Stamping polish – how it differs from regular gel polish
Stamping polish is made for one job: transferring a design from the plate to the nail. It differs from gel polish in two ways. The first is high pigmentation – the design transfers in one motion, sharp and lasting, with no base colour showing through. Stamping polish lets you transfer a design precisely on any nail plate, even a short one. The second is how it dries: stamping polish dries on its own, without a UV lamp, so a whole stamping design is quicker to do than classic nail art.
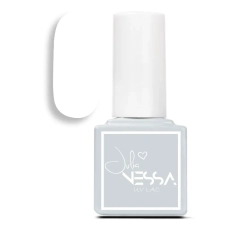
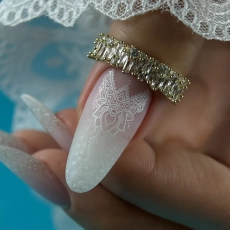
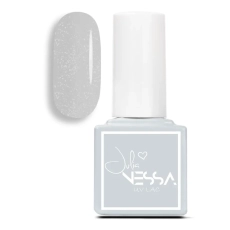
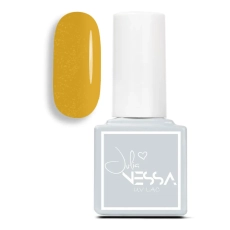
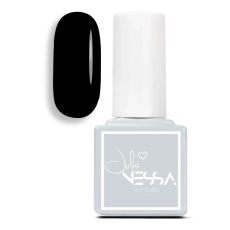
We offer four stamping polishes in 8 ml: black, white, gold and silver. Black gives the strongest contrast and works best on light bases. White is the foundation for stamping on dark colours and for delicate designs on milky nail sets. Silver and gold work as a metallic accent – they look great on navy, black and deep shades.
Julia Nessa stamping polishes have a thinner consistency than typical stamping polishes. This means they spread evenly over the design on the plate and leave no lumps when you pick them up with the stamper. A polish like this is more forgiving for anyone who is just learning the technique.
Stamping plates – twenty designs in our range
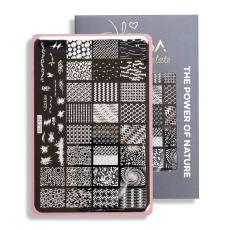
Polish alone is not enough. To stamp nails you need a plate with an engraved design and a stamper to transfer it. In this category we have twenty stamping plates, each with a dozen or so designs.
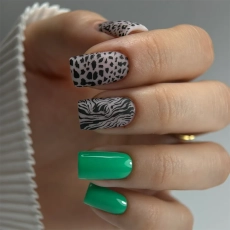
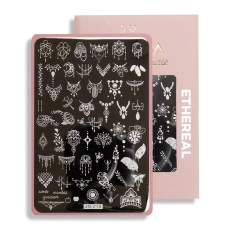
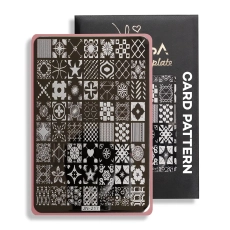
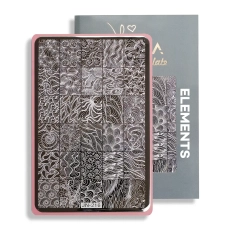
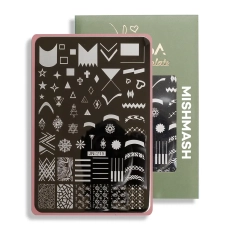
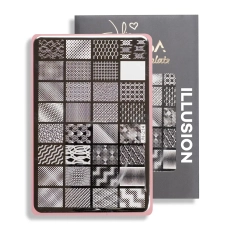
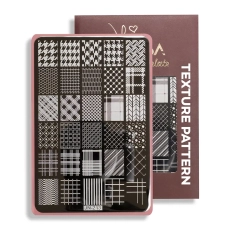
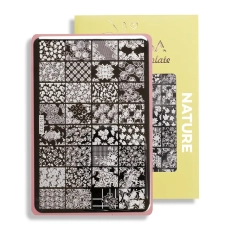
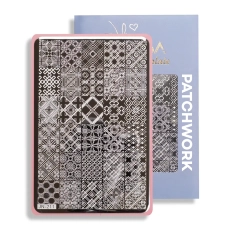
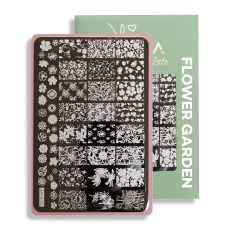
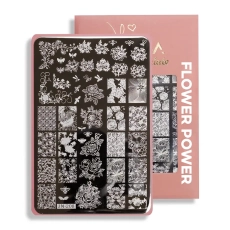
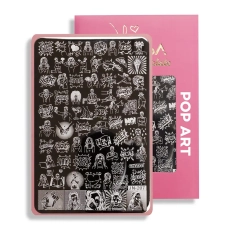
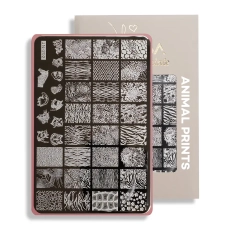
For floral nail sets, reach for Flower garden, Flower power, Nature or The power of nature. You will find geometry and abstract designs on the Abstract, Elements, Illusion, Patchwork and Texture pattern plates. For clients who like bolder accents, we have Animal Prints, Savannah and Pop art.
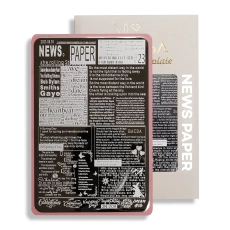
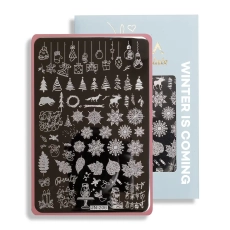
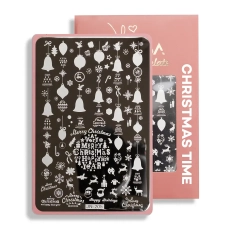
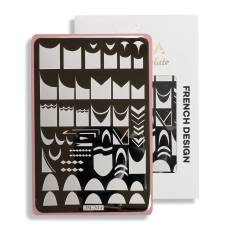
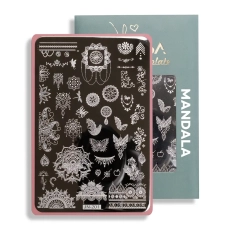
Seasonal designs are a group of their own: Christmas time and Winter is coming for December and winter nail sets. For French tips we made the French Design plate, and fans of newspaper-style nail art will appreciate News paper. The palette is rounded off by Card pattern, Ethereal, Mandala and Mishmash.
For storing plates we have a case that keeps them flat and protects them from bending. A plate with a bent edge no longer sits flush against the stamper and the design transfers only partly – the most common cause of failed stamping after a few months of work.
How to stamp nails step by step
Stamping looks simple, but the order matters. Here is the method that works well in the salon:
- Finish the nail set first – base, colour, curing. You transfer the design onto the finished base colour.
- Apply stamping polish to the chosen design on the plate. Do not skimp, the layer must cover the whole engraving.
- Scrape off the excess polish from the plate in one confident motion – with a scraper or the edge of a card. Exactly the right amount of polish stays in the engraved design.
- Press the stamper onto the design straight away and roll it over the pattern. Do not press straight down, roll – the design will transfer in full.
- Transfer the design to the nail with the same rolling motion. The polish dries on its own, so you do not cure it in the lamp.
- Seal the nail set with a top coat. Without a top coat the design will wear off after a few days.
The whole cycle takes a few dozen seconds per nail. It is faster than hand-painting designs, and the result is repeatable – every client gets the same design in the same quality.
Stamping – the most common mistakes and how to avoid them
If the design transfers incompletely or smudges, the cause is usually one of four things.
Too little polish on the plate. A thin layer does not fill the engraving and only part of the design transfers. Apply more, and only then scrape off the excess.
Too long a pause between scraping off the excess and picking up the design with the stamper. Stamping polish dries quickly – that is its nature. If you put the plate down and come back a moment later, the design will no longer lift. These two moves must follow one another.
Pressing the stamper straight down. The stamper has to be rolled, not pressed. When you press, the design spreads at the sides.
A new stamper that has not been prepared. A fresh silicone pad can be slippery and will not pick up polish. Gently buff it with a fine-grit file – the surface will start to grab the design. Do not wipe the stamper with cleanser or acetone, as it will lose its properties.
What you need to start stamping
The stamping essentials are a short list. You need stamping polish in at least one colour, one plate with designs, a stamper with a scraper and a top coat to protect the finished nail art. You buy these nail accessories once and they last for years – only the polish gets used up.
If you are just starting, the safest set is black polish and a plate with geometric or floral designs. Black transfers most clearly, so you can see straight away whether the technique is done correctly. Leave tiny designs and very thin lines for later – they take practice in scraping off the excess.
Opaque colours from the NessaUV lac range and bases from the cover base coats category work well under stamping. To seal the design, use a top coat from the top coats category – ideally one without a sticky layer, so you do not have to wipe the nail set with cleanser after curing and risk smudging the fresh design.
Transferring the design – what decides the quality of stamping
Transferring a design looks like a mechanical task, but three things decide whether the nail art comes out clean. The first is the condition of the plate – the engraving must be empty, with no residue from the previous design. The second is the stamper: the silicone pad should be slightly matte, because only that kind picks up polish. The third is tempo – there must be no pause between scraping the excess polish off the plate and pressing the stamper onto it.
When these three conditions are met, stamping is an express technique. Designs appear on nails faster than with any other nail art method, and the nail stylist does not have to master hand-painting tiny elements.
Stamping polish in a nail stylist's work – who it suits
Stamping is the fastest way to do nail art in the salon. A client who wants a design on two nails does not have to wait while you hand-paint every element. You transfer the design in a dozen or so seconds and move on.
It is also a way to get repeatability. A hand-painted ornament always turns out a little different – with stamping the design is identical on every hand and at every visit. A client who comes back for the same nail set gets exactly what they remember.
For nail stylists who are only building their nail art portfolio, stamping is a good starting point. It does not require practice with a brush, and the result looks professional straight away. Over time, plates become a complement to hand-painted nail art rather than a replacement for it.
Stamping polish – frequently asked questions
Does stamping polish need to be cured in a lamp?
No. Stamping polish dries on its own, without a UV lamp. You only cure the top coat that protects the finished design.
Can you stamp with regular gel polish?
Usually it does not work. Gel polish does not dry without a lamp and has different pigmentation, so the design transfers only partly or not at all. For stamping you need a polish made for this technique.
How do you clean stamping plates?
Wipe the plate with nail cleanser or nail polish remover straight after use. Dried polish in the engraved design is hard to remove, and residue from a previous design spoils the next transfer.
How many designs are on one plate?
Our stamping plates have a dozen or so designs each – from large ones that cover the whole nail plate to small elements for accents.