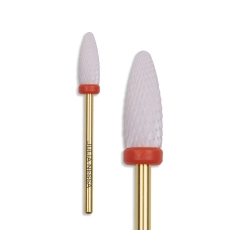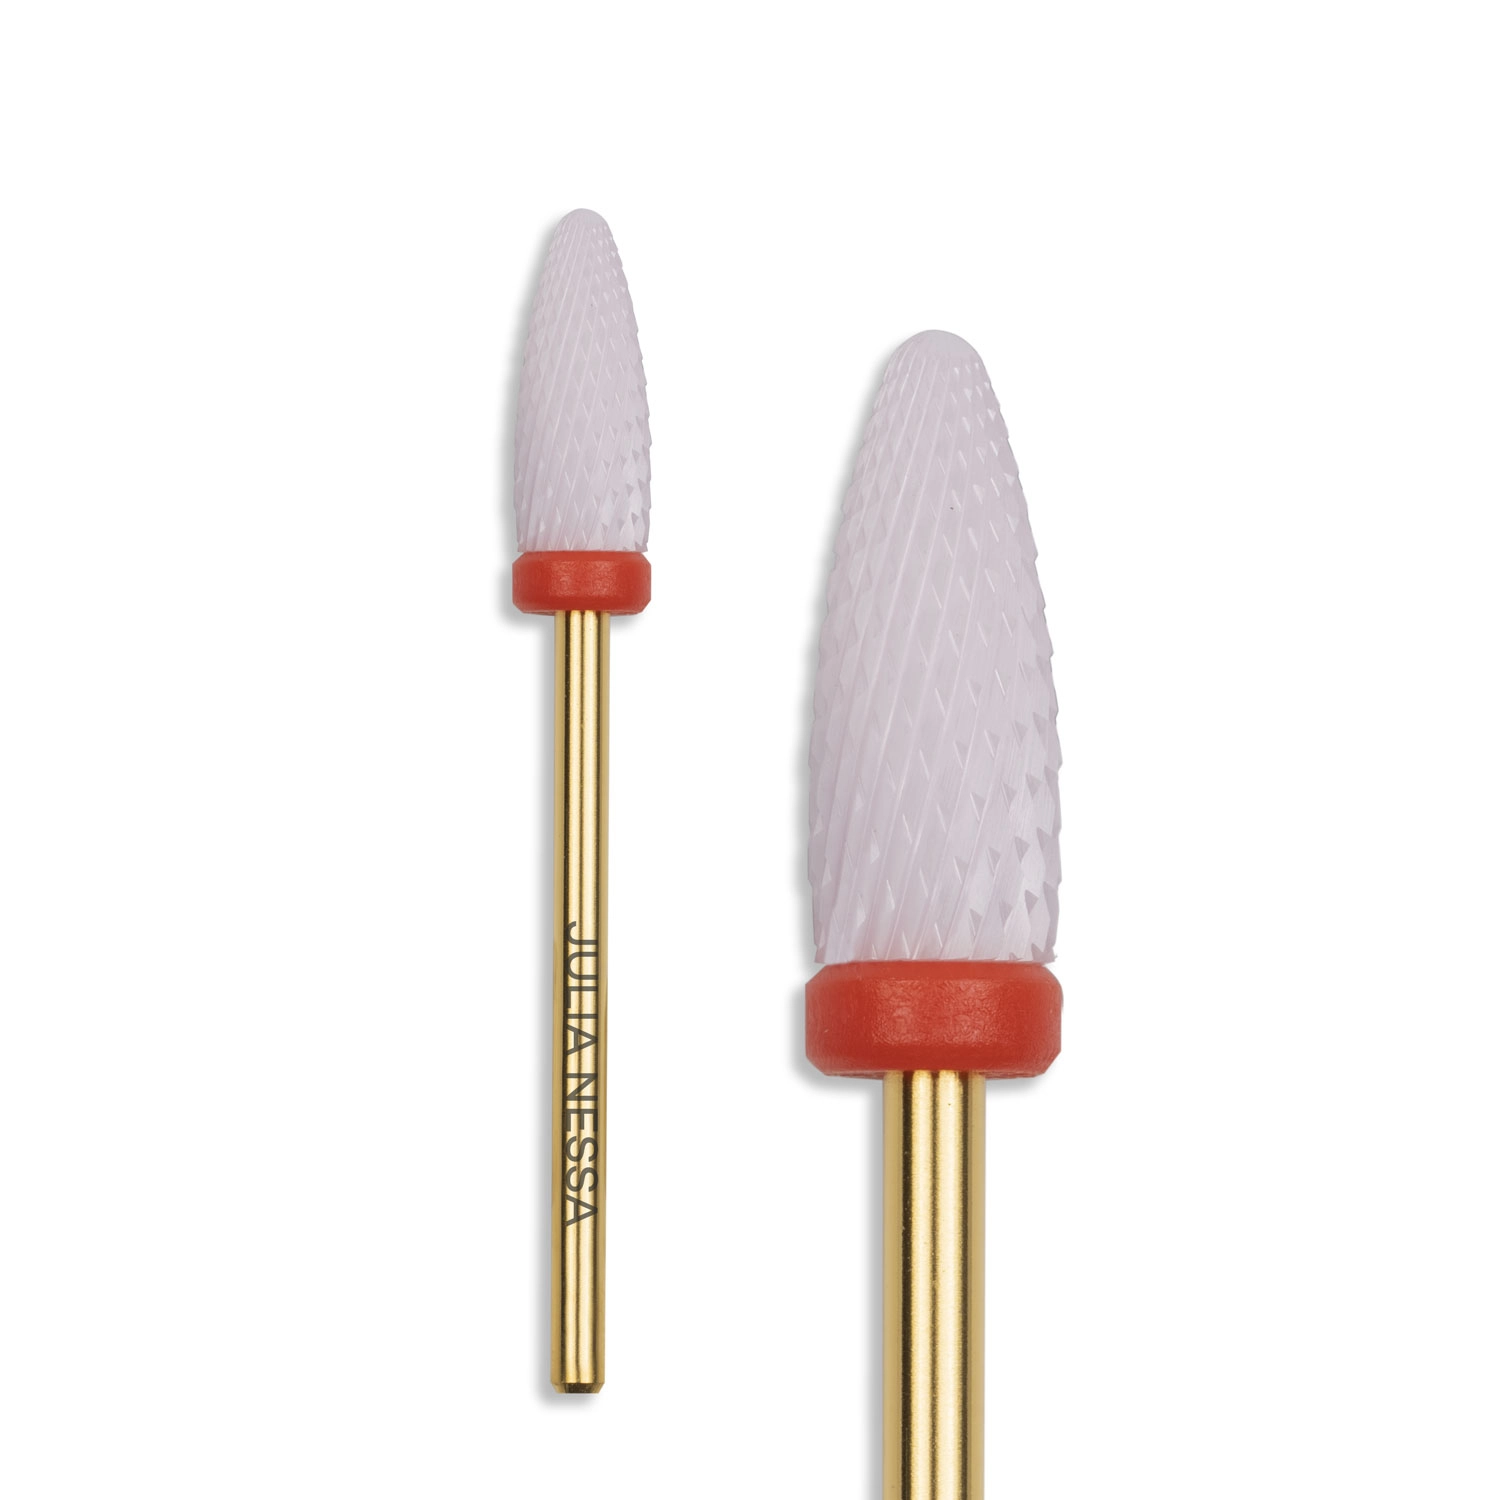
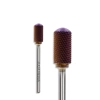
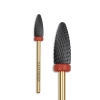
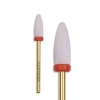
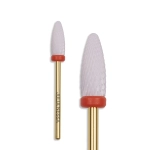
Ceramic Gel Polish Removal Bit – Rose Gold
Ask about the product
Administratorem danych osobowych jest PHU Mateusz Maruniak. Przetwarzamy je w celu przesłania odpowiedzi na zapytanie. Więcej informacji dotyczących przetwarzania danych osobowych znajduje się w polityce prywatności.
Shipping across Europe from Poland
Payments


Safe shopping guarantee
 Secure payments
 14 days to return
 Fast shipping
Opis produktu
The shank size of the ceramic gel polish removal bit is 2.35 mm (3/32"). This ceramic bit will work without any problem with the most commonly used e-files found in most nail salons.
If you’re curious about which e-file bits we offer and how to work with them, be sure to watch this episode.
Ceramic gel polish removal bit – features and use
This model is intended for gel polish. It is not for removing gel or acrygel nail sets – a bit with a red marking is too delicate for such nail sets. Ceramic is very resistant to cracks and other mechanical damage, as well as to heating up, which adds to both your working comfort and your client’s comfort.
- Material: ceramic – exceptional durability and resistance to mechanical damage.
- Marking: red band – fine grit.
- Colour: rose gold.
- Use: removing gel polish from fingernails and toenails.
- Heat resistance: very high.
- Design: specially designed teeth.
- For whom: right- and left-handed nail stylists, beginners and experienced.
- Shank: 2.35 mm (3/32 inch) – works with the most commonly used e-files.
Types of bits for removing gel polish – ceramic, tungsten carbide or diamond bits?
E-file bits differ in the material they are made from, their grit and their purpose, and choosing the right bit lets you work faster and more safely. Ceramic is for removing gel polish alone – the fine grit and resistance to heating up give you good control right above the natural nail plate. A tungsten carbide bit is the tool for thicker layers: for gel or acrylic nail sets, meaning builder gel and acrylic, carbide bits work best. In the Julia Nessa range you will find, for example, a conical bit – the Gel Removal Bit No.1 – which combines sharpness with a long life. Diamond bits are found mainly in cuticle work, for example in the form of the diamond teardrop No.17. Each of these bits has its place on your nail desk, and well-chosen bits help nail stylists who want to cut down their working time.
Which bit should I choose for removing gel polish, and when do I need gel removal bits?
Before you start, check what your client has on her nails. If it is gel polish alone on the natural nail plate, this bit is the best choice – it allows precise removal of gel polish, and precision matters more here than speed. It is a delicate bit that gives you time to react. When there is builder gel or acrygel under the colour, reach for tungsten carbide bits – in the shop they are grouped in the gel and gel polish bits category. Gel removal bits are stronger tools, because they have to take a thicker layer off the surface of the gel – to start with, try, for example, the gentle cylinder, the Gel Removal Bit No.2 Cameleon, suited to people just starting out with an e-file. For working on the underside of the nail, yet another shape is used – the fir-tree bit No.3. Always match the shape and strength of the bit to the stage of the treatment – a well-chosen bit is the basis of quick and effective removal of nail sets.
How to remove gel polish with a ceramic bit – the technique step by step
The specially designed teeth let you take off an old manicure in a controlled way. With the first few clients, a new bit takes the product off in fine shavings, and after a few manicures the gel polish comes off as dust.
- Fit the bit securely in the e-file chuck and check that it turns without wobbling.
- Match the tool and the speed to your experience – when working with an e-file it is better to start gently.
- Guide the bit smoothly over the surface of the colour, without stopping in one spot, which lowers the risk of overheating the nail plate.
- Don’t press too hard – especially when the bit is new. A bit that is pressed too forcefully can damage the nail plate.
- Slow down near the cuticles: working around them calls for short, light movements.
- Don’t touch the natural nail plate with the bit. Doing so will damage it, so be especially careful with the last layer and take care not to file through to the plate.
This technique lowers the risk of damaging the natural nail plate and lets you prepare the nail plate for the next treatment quickly yet safely. Removing colour quickly and effectively doesn’t take force – good technique is enough.
Heat resistance – why reach for ceramic bits
Very high heat resistance is one of the most important features of this bit. Beginner nail stylists will appreciate it especially, as they find it harder to sense the moment when the bit’s temperature rises significantly. It affects not only the comfort of a nail stylist’s everyday work, but also how your client feels. On top of that comes exceptional durability: ceramic is very resistant to cracks and mechanical damage, so the bit stands up well to intensive use in the salon.
Who the rose gold gel polish removal bit is for
It is for every nail stylist who does gel polish manicures – in a professional studio and at the start of her career. It is worth having at least two professional gel polish removal bits, so one is ready to use while the other is being disinfected. The bit is designed to be comfortable for both right- and left-handed nail stylists. It works for removing gel polish from fingernails and toenails, so it is also useful for pedicure. If you prefer another colour, the range also includes the black gel polish removal bit. For removing cuticles and working on hard-to-reach areas around the nail folds of natural nails, there are separate bits – you will find them in the cuticle bits category. For professional use only.
Cleaning and disinfection
After every client, remove dust and polish residue from the bit, then disinfect and sterilise it before using it again. Store the clean tool separately from used ones. Regular care helps keep the ceramic in good condition for a long time.
Like all Julia Nessa tools, the ceramic bit stands up well to disinfection and sterilisation.
Can I remove gel with this bit?
No. This bit is not intended for removing gel or acrygel nail sets – the red band indicates a grit that is too delicate for such nail sets. For gel and acrylic, choose a tungsten carbide bit.
Why does a new bit leave shavings instead of dust?
That’s normal. With the first few clients, a new bit takes the product off in fine shavings, and after a few manicures the polish comes off as dust.
Is the gel polish removal bit suitable for pedicure?
Yes, it works for removing gel polish from both fingernails and toenails.
Can I work with it on the natural nail plate?
No. When working with this bit you must not touch the natural nail plate – doing so will damage the plate. Remove only the layer of polish.
Can this bit be sterilised?
Yes. Like all Julia Nessa tools, the bit stands up well to disinfection and sterilisation – after each client you can disinfect and sterilise it just like the other tools in your salon.
Product code: FHR1
Barcode: 5905616340173
New products
See all
-
Price €28.89
-
Price €8.89
-
Price €8.89
-
Price €8.89
-
Price €8.89
-
Price €8.89
-
Price €8.89

-
Price €8.89
-
Price €8.89

-
Price €8.89
-
Price €8.89
-
Price €8.89
-
Price €8.89
-
Price €16.84


-
Price €10.34
-
Price €16.84


-
Price €10.34
-
Price €16.84


-
Price €10.34
-
Price €16.84